The Uke Build Project in Day to Day
- Oct. 7, 2016, 3:27 p.m.
- |
- Public
My ukulele self-build project has come to an end.
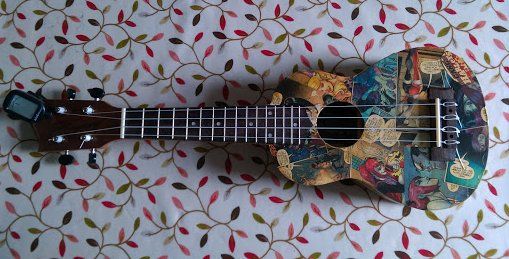
Here are some details:
I based the uke on this kit from Amazon. It was cheap, and my feeling was if I screw it up, I can just chalk it up to experience. I have to admit, I was expecting a set of instructions. And I was not expecting to have to shape the base of the neck to fit it to the body. However, everything you need is there except glue and materials to decorate it.
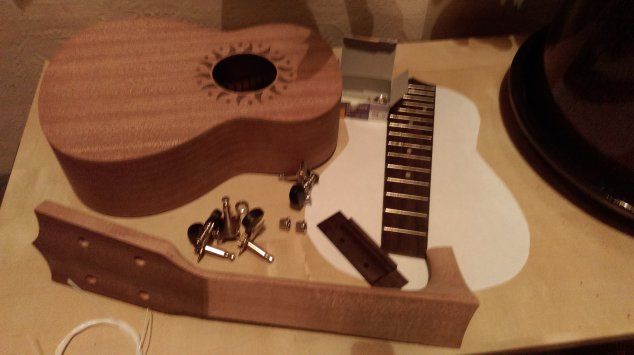
So first step was to shape the base of the neck to fit the curved body of the uke. I spent quite a while doing this with file and sand paper as I figured it needs to be pretty accurate. It has to be square and perpendicular, and of course, in the middle. My attempt was not perfect, but I thought it was pretty good.
I clamped the finished neck in an old Black and Decker workmate bench tipped on its side so that the heel was at the top. I could then glue the body on and weight it overnight. I thought I had a picture of that, but I don’t. I was worried that I was going to glue the whole thing to the workbench, so I put some paper between uke and bench.

I used Titebond 3 glue, as recommended by a friend. It gives you about 10 minutes to muck about before clamping and it’s very strong. When it was set I also drilled through the heel of the instrument into the body (there is a small wooden block inside the body where the neck attaches) and inserted a 6mm dowel to add a bit of extra strength. The peg was then sanded down.
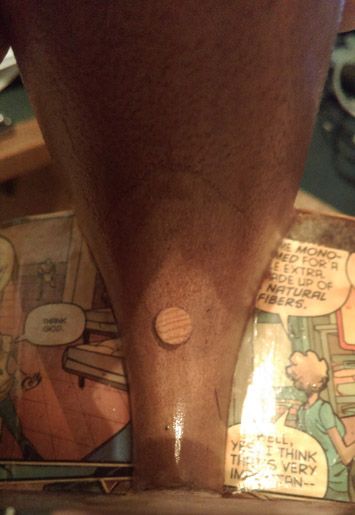
I did use a little filler around the heel before sanding the whole thing down. I also used filler on the pattern around the sound hole because I wanted a flat face to my uke.

I figured I needed to place the bridge before decorating. The trick with placing the bridge is to make the distance between nut and fret 12, the same as the distance between fret 12 and the bridge. I did a bit of research here and most people seem to recommend adding a little extra length to compensate for the stretching of the strings as they are pressed against fret board. I couldn’t find any way to calculate the extra bit, so I added 2mm.
I actually clamped the fret board in place without gluing and marked it with a pencil to calculate where the saddle/bridge was to go. Once I had worked out where I wanted the bridge, I screwed it into place, but didn’t glue it. I then took it off again but left the screws in place to mark it while I decorated. I also unclamped the fret board and removed that to decorate.
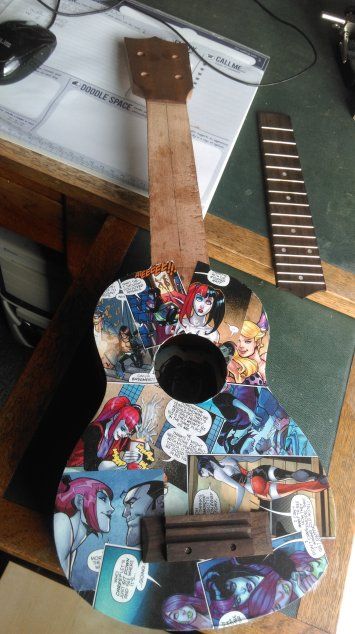
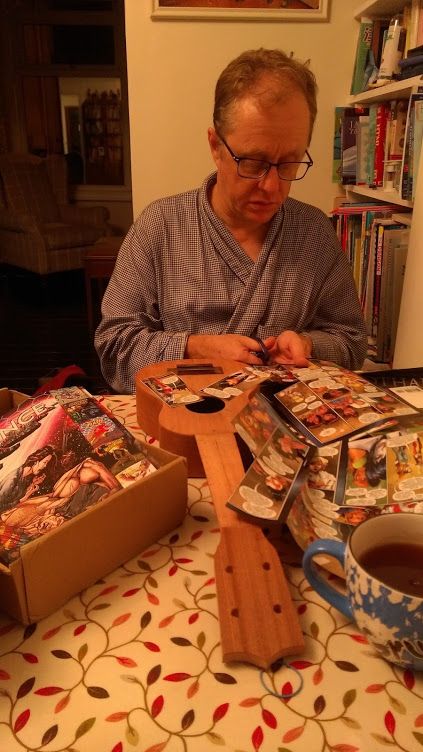
To decorate I just cut up old comic books (I have stacks) and glued them in place using pvc glue mixed with water (about 50:50). When it was all covered I used a slightly brown varnish to give it an old fashioned look. i thought it would be an easy option, but it actually took ages.
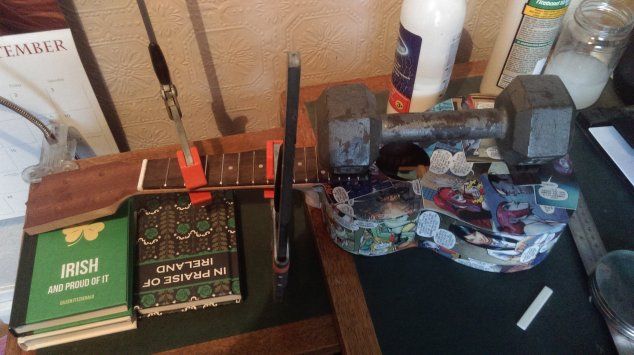
Next step was to glue fret board in place. I had previously marked it so it was just a question of gluing it in place and clamping overnight again. I also glued the saddle in place at the same time. The saddle probably didn’t need clamping since I could screw it down, but I did leave a weight on it overnight anyway.
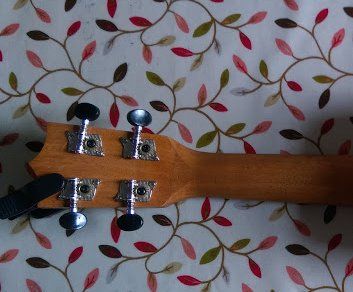
Finally I screwed the tuners into place and strung it. I don’t know whether the nut should be glued in place, but I didn’t, and it appears to be fine just clamped against the neck by the tension of the strings.
The big question is, would it play well? And the answer is, yes, it plays quite well. I’d be lying if I said it played as well as my more expensive instruments, but I can get a tune out of it, and what do you want from a homemade uke based on a £25 kit? It plays better than I thought, looks cool and put me in the mood to try something else.
Last updated October 11, 2016


Loading comments...